Lab 9: PCR and Gel Electrophoresis
Lab 9: PCR and Gel Electrophoresis
Introduction
The purpose of the first lab was to first familiarize ourselves with the process of the Polymerase Chain Reaction (PCR). If there is isolated DNA, but not very much, PCR is used to make multiple copies of the DNA of interest. From initially creating the solution with the DNA intended for replication along with various other ingredients and then putting it through a temperature cycle many times, we will then be left with a highly concentrated solution of a specific DNA section. The critical point in this process is choosing the correct species specific primer that depends on the downstream application and what exactly we are looking for. For this part, we used DNA from a pure E. coli culture previously prepared in an earlier lab.
The purpose of the second lab was to put the DNA that we previously separated in an earlier lab through an electrophoresis process that separates the DNA fragments based on size. The gel that the DNA is set into is microscopically porous and since negatively charged DNA is placed into this gel and a current is run through it, the smaller fragments of DNA will move farther faster to the positively charged end thus leaving a band at a specific base pair marker that is established through the electrophoresis of a standard ladder. The larger DNA strands will likewise not move as quickly or as far. This is done to see what kind of DNA is present in the sample and in our case, can be used to determine if we over vortexed our sample if the bands in the gel are not at the same position. Primarily contracted in presence/absence tests or for quality control, gel electrophoresis is just one example of biotechnology that can provide further insight into our samples.
PCR:
With the intention of making 8x the initial recipe, the following were pipetted and added to a PCR tube: 20 μL 10x Standard Taq Reaction Buffer, 4 μL 10 mM dNTPS, 4 μL 10 uM forward primer, 4 μL 10 uM reverse primer, 2 μL of DNA sample, 1 μL Taq polymerase and 151 μL Nuclease-free water. A 16S printer was used to amplify the universal 16S bacterial gene. The tube was then placed in the thermocycler at 95*C for 5 minutes where it underwent a process of denaturing to separate the two strands of DNA. Then it went through 45 cycles of 50*C for 30 seconds and 72*C for 30 seconds. This annealed the primers at the lower temperature, allowing the primers to 'stick' to the DNA strands without having the strands stick back to each other with the forward and reverse primers at work. The higher temperature allowed for the extension of these primers. The final extension was then at 72*C for 7 minutes and the sample was then held at 4*C to freeze it in place for further use.
Gel Electrophoresis:
The first step was preparing a 1.0% agarose gel by mixing 1 g agarose with 100 mL TAE buffer (water with some salt). The agarose was then melted in the microwave for 30-60 seconds. The media was then cooled and SYBR safe was added to the mixture for a final concentration of 0.5 μg/mL. The gel box was assembled and the gel comb was placed in the tray. The gel comb allowed the creation of the lanes for the samples to be pipetted into. The agarose/SYBR safe mixture was poured into each gel tray (creating 2 gel blocks). The gel was then allowed to solidify. 8 μL of blue plasmid DNA was then placed on plastic sheet. 2 μL of our first isolated DNA sample was then mixed with this 8 μL, creating 10 μL of solution. This was repeated for another 10 μL of final solution with our second DNA isolated sample. Keeping track of which lanes we were placing our samples in, 10 μL of each sample was placed into respective lanes in the gel tray, careful not to puncture the gel tray. The treys were then placed in the electrophoresis apparatus, water was poured in (to cover the gel trays but not to disturb the samples in the lanes) and the leads were connected the power supply. The apparatus was then left alone for an hour and observed later.
Results
References
Chris Madden Cartoons. Genetics or DNA cartoon: person climbing a spiral ladder of dna. Accessed online
11 December 2017 at <http://www.chrismadden.co.uk/cartoons/science-cartoons/genetics-cartoons- dna-cartoons/gene-dna-ladder-cartoon.gif>.
Thomson, Ashley. "Lab #9: PCR Protocal."
Thomson, Ashley. "Lab #10: Visualization of DNA."
 |
| (Photo: Chris Madden Cartoons) |
Introduction
The purpose of the first lab was to first familiarize ourselves with the process of the Polymerase Chain Reaction (PCR). If there is isolated DNA, but not very much, PCR is used to make multiple copies of the DNA of interest. From initially creating the solution with the DNA intended for replication along with various other ingredients and then putting it through a temperature cycle many times, we will then be left with a highly concentrated solution of a specific DNA section. The critical point in this process is choosing the correct species specific primer that depends on the downstream application and what exactly we are looking for. For this part, we used DNA from a pure E. coli culture previously prepared in an earlier lab.
The purpose of the second lab was to put the DNA that we previously separated in an earlier lab through an electrophoresis process that separates the DNA fragments based on size. The gel that the DNA is set into is microscopically porous and since negatively charged DNA is placed into this gel and a current is run through it, the smaller fragments of DNA will move farther faster to the positively charged end thus leaving a band at a specific base pair marker that is established through the electrophoresis of a standard ladder. The larger DNA strands will likewise not move as quickly or as far. This is done to see what kind of DNA is present in the sample and in our case, can be used to determine if we over vortexed our sample if the bands in the gel are not at the same position. Primarily contracted in presence/absence tests or for quality control, gel electrophoresis is just one example of biotechnology that can provide further insight into our samples.
 |
| (Photo: Lauren Lukasik) |
®
DNA Isolation Kit is effective at removing PCR inhibitors from even
the most difficult soil types. Environmental samples are added to a bead beating
tube for rapid and thorough homogenization. Cell lysis occurs by mechanical and
chemical methods. Total genomic DNA is captured on a silica membrane in a spin
column format. DNA is then washed and eluted from the membrane. DNA is then
ready for PCR analysis and other downstream applications.
Methods and MaterialsPCR:
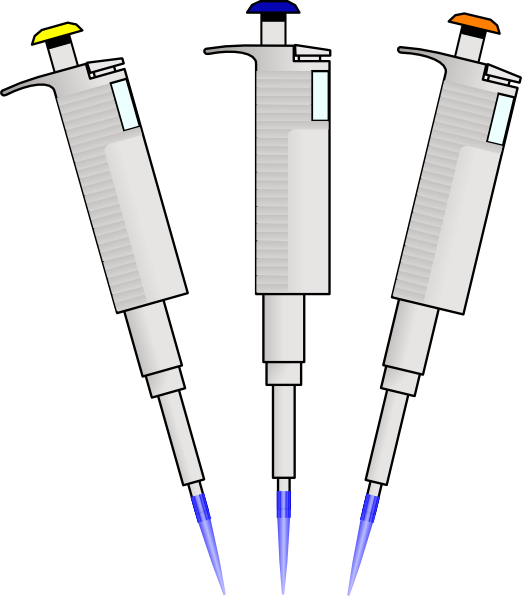
With the intention of making 8x the initial recipe, the following were pipetted and added to a PCR tube: 20 μL 10x Standard Taq Reaction Buffer, 4 μL 10 mM dNTPS, 4 μL 10 uM forward primer, 4 μL 10 uM reverse primer, 2 μL of DNA sample, 1 μL Taq polymerase and 151 μL Nuclease-free water. A 16S printer was used to amplify the universal 16S bacterial gene. The tube was then placed in the thermocycler at 95*C for 5 minutes where it underwent a process of denaturing to separate the two strands of DNA. Then it went through 45 cycles of 50*C for 30 seconds and 72*C for 30 seconds. This annealed the primers at the lower temperature, allowing the primers to 'stick' to the DNA strands without having the strands stick back to each other with the forward and reverse primers at work. The higher temperature allowed for the extension of these primers. The final extension was then at 72*C for 7 minutes and the sample was then held at 4*C to freeze it in place for further use.
 |
| (Photo: Lauren Lukasik) |
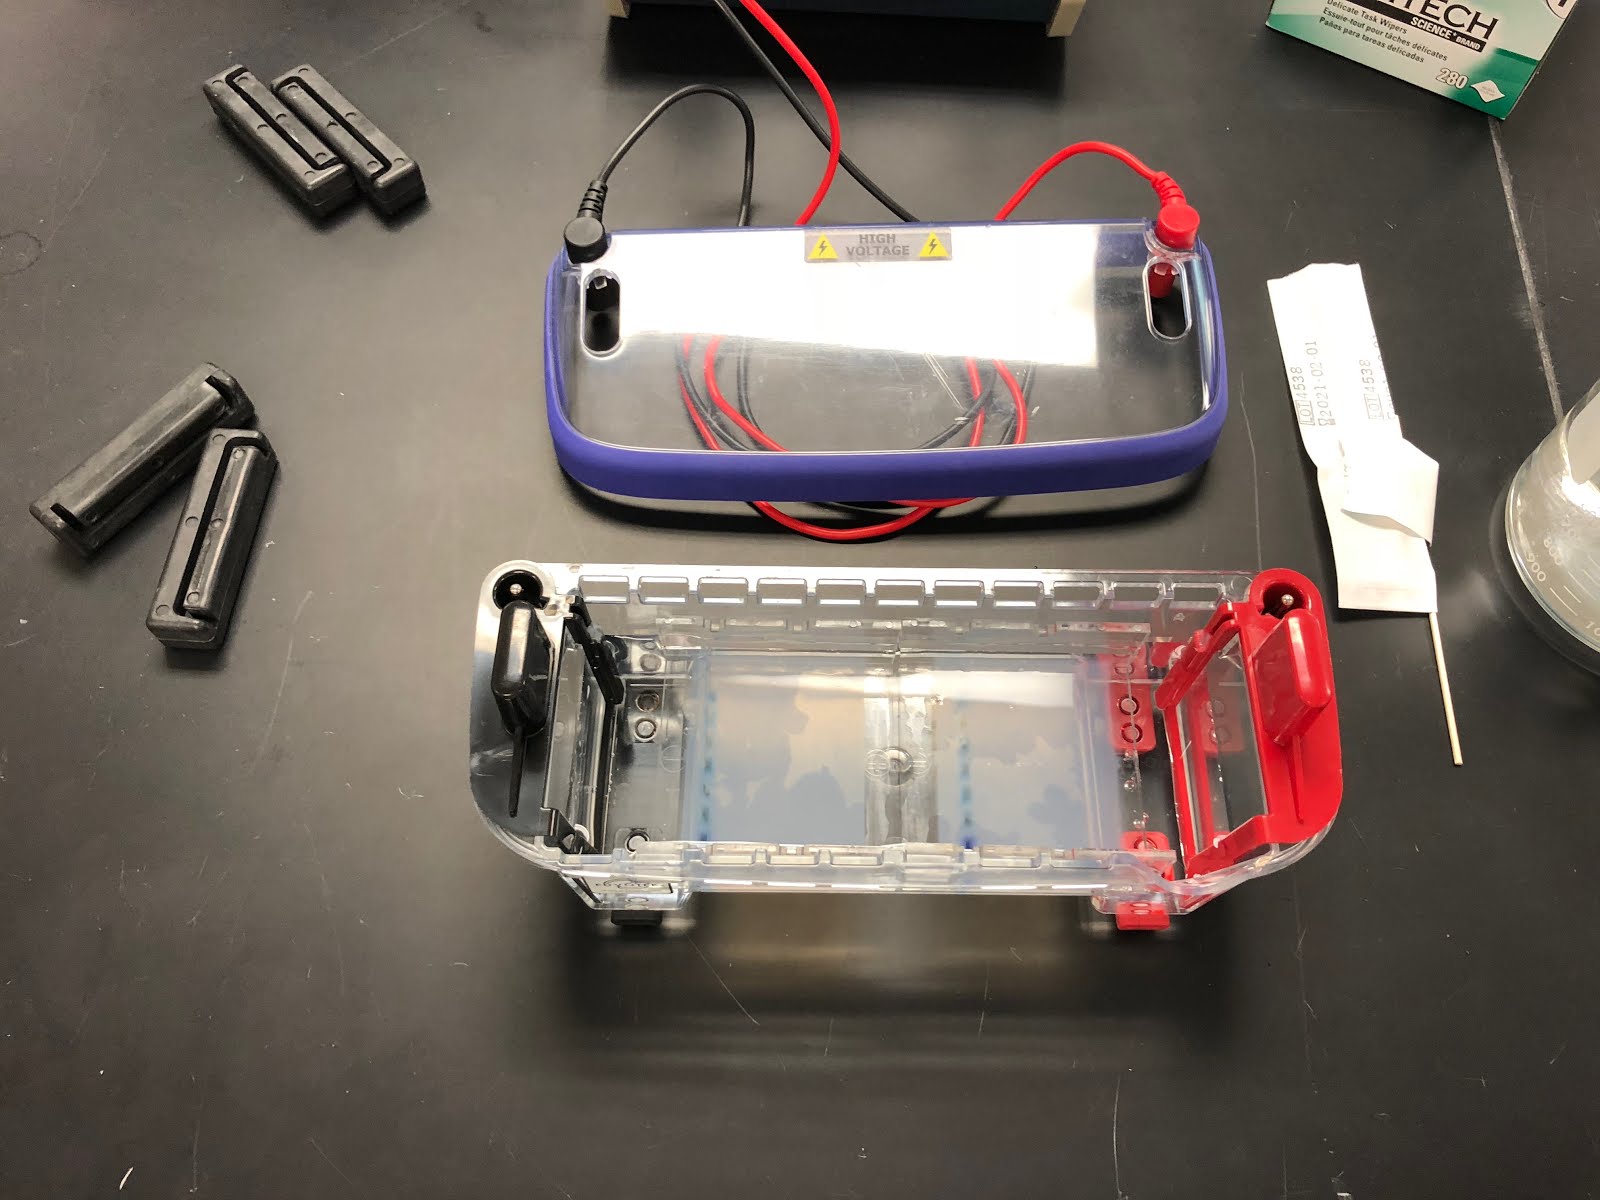
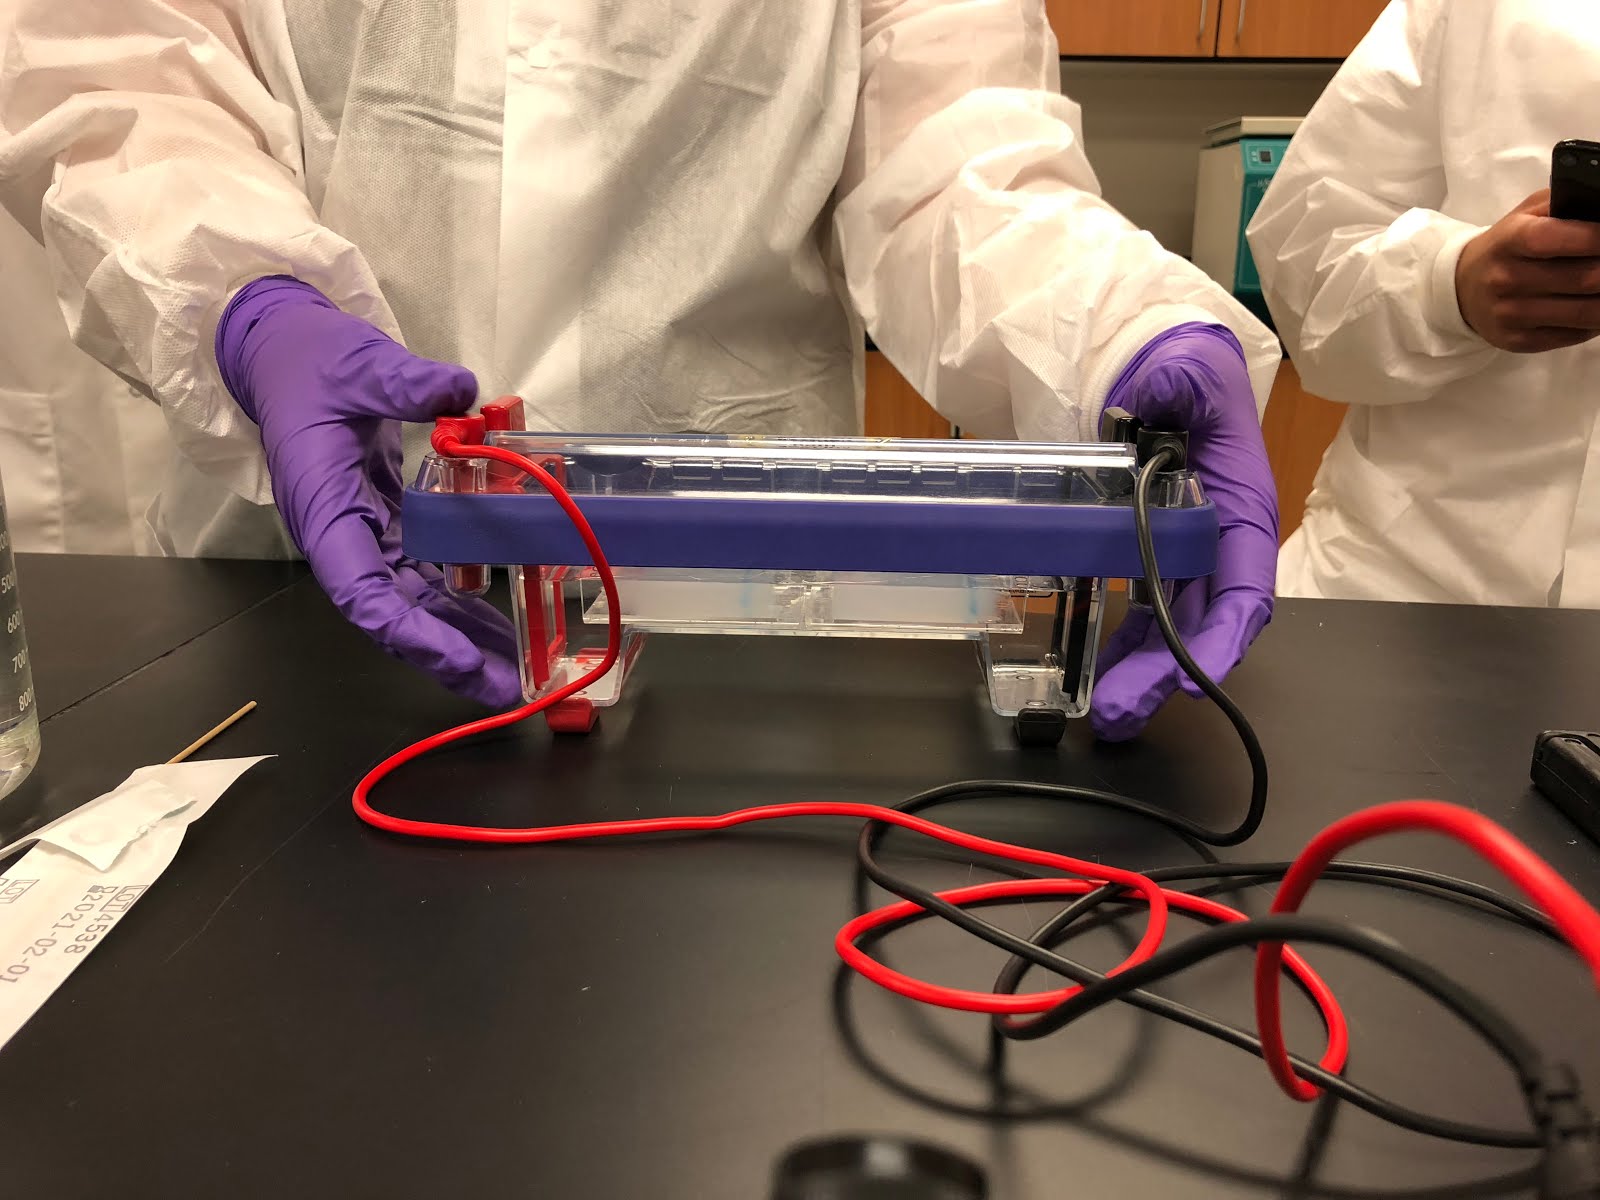
Gel Electrophoresis:
The first step was preparing a 1.0% agarose gel by mixing 1 g agarose with 100 mL TAE buffer (water with some salt). The agarose was then melted in the microwave for 30-60 seconds. The media was then cooled and SYBR safe was added to the mixture for a final concentration of 0.5 μg/mL. The gel box was assembled and the gel comb was placed in the tray. The gel comb allowed the creation of the lanes for the samples to be pipetted into. The agarose/SYBR safe mixture was poured into each gel tray (creating 2 gel blocks). The gel was then allowed to solidify. 8 μL of blue plasmid DNA was then placed on plastic sheet. 2 μL of our first isolated DNA sample was then mixed with this 8 μL, creating 10 μL of solution. This was repeated for another 10 μL of final solution with our second DNA isolated sample. Keeping track of which lanes we were placing our samples in, 10 μL of each sample was placed into respective lanes in the gel tray, careful not to puncture the gel tray. The treys were then placed in the electrophoresis apparatus, water was poured in (to cover the gel trays but not to disturb the samples in the lanes) and the leads were connected the power supply. The apparatus was then left alone for an hour and observed later.
 |
| (Photo: Lauren Lukasik) |
Results
 |
| (Photo: Dr. T) |
Discussion
The purpose of the DNA ladder is to set a baseline for measuring the kilo base pairs of the gel electrophoresis experiment. Different ladders creating different baselines can be chosen for specific experiments. The ladders show how 'big' a DNA strand is; the farther the band is away from the negative end, the smaller the DNA strand is (the smaller the kbp value is). Restriction enzymes 'cut' a DNA molecule at a specific point. These 'cut' DNA fragments can then be placed in a gel electrophoresis contraption like ours and analyzed. The DNA is located in in the nucleus of a eukaryotic cell, but just floats around in the cytoplasm of a prokaryotic cell. This huge strand of genetic information is supercoiled to fit into such a small space.
The different bands shown in the picture above correspond to the size of the DNA fragments we analyzed that were isolated by the 16s primer. As they are all equivalent, we successfully isolated the DNA and did not over vortex our sample which would have resulted in tiny fragments at different kilo base pair points. Since we successfully isolated pure DNA as evidenced by our equivalent blue bands and no gel was pierced in the transfer process, we are basically professional microbiologists now. It is important however that gel electrophoresis is not that helpful in that the blue lines don't tell you much except for if there's different kinds of DNA in the sample. Out of the two processes, PCR is probably the more important one because it is the amplification of intended DNA that is used for more applications.
 |
| (Photo: Lauren Lukasik) |
Chris Madden Cartoons. Genetics or DNA cartoon: person climbing a spiral ladder of dna. Accessed online
11 December 2017 at <http://www.chrismadden.co.uk/cartoons/science-cartoons/genetics-cartoons- dna-cartoons/gene-dna-ladder-cartoon.gif>.
Thomson, Ashley. "Lab #9: PCR Protocal."
Thomson, Ashley. "Lab #10: Visualization of DNA."
 |
| (Photo: Lauren Lukasik) |


Comments
Post a Comment